

1. Prerequisites
Dolibarr 20 to 24 with PHP 7.4 to 8.2 and the Third parties module. Work on a copy of your database first: a merge deletes the absorbed record. Make sure document directories are writable, since documents are copied before merging.
Prerequisites, installation in custom/, configuration, first test and update. Start on a copy of your database.
Dolibarr 20 to 24 with PHP 7.4 to 8.2 and the Third parties module. Work on a copy of your database first: a merge deletes the absorbed record. Make sure document directories are writable, since documents are copied before merging.
Download the archive from Dolistore and unzip it into custom/datacleaner, or deploy it from Home → Setup → Modules/Applications → Deploy external module. Enable DataCleaner Pro: six tables are created. Grant the permissions; “Merge” is not granted by default and also needs the core delete right on third parties or contacts.
In the module setup: scanned objects (third parties, contacts), confidence thresholds for very likely, possible and low, criteria weights, legal forms to strip, prevention warning and optional VAT block, “Copy documents before merging” (keep it on) and the audit retention in days.
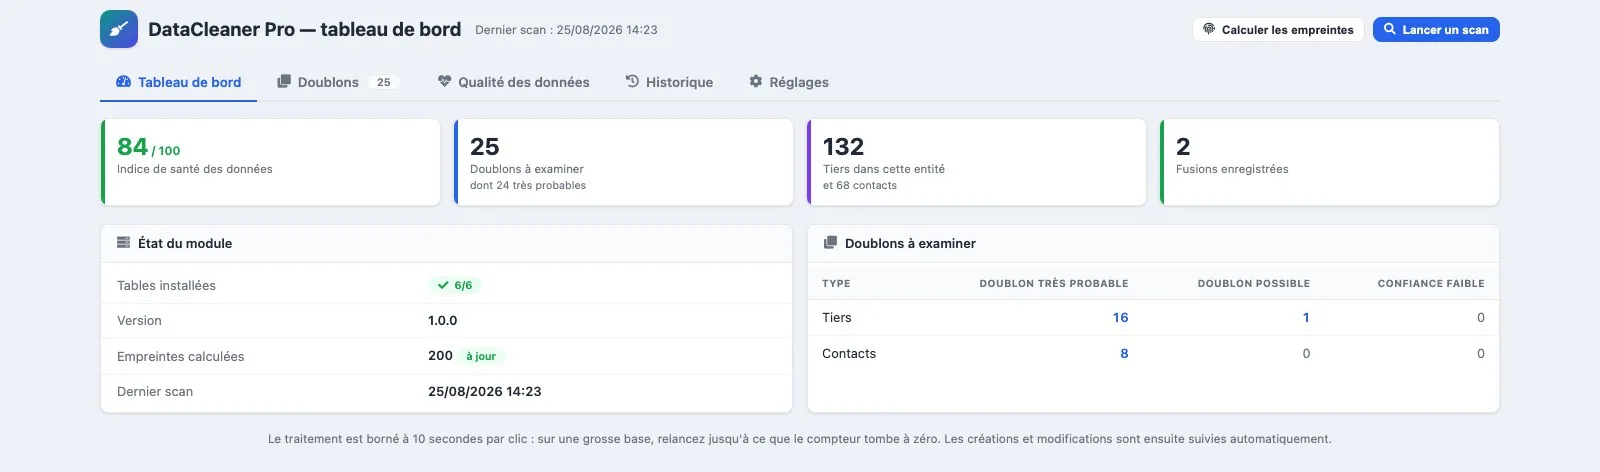
On the dashboard, click “Compute fingerprints” until the pending counter reaches zero (each click runs for about ten seconds on large bases), then “Run a scan”. The dashboard shows the number of duplicates to review by type and confidence. Fingerprints are then maintained by triggers on every create or update.
Open Duplicates, choose a very likely pair and click “Review”: read the field comparison and the score breakdown. Click “Prepare merge”, check the recommended master, the totals after merge and the conflicts, tick the confirmation and click “Merge”. The kept record must now carry all invoices, orders, contacts and documents; History shows the audit entry.
Create a third party resembling an existing one: the warning must appear with “open the existing one” and “create anyway”. In Home → Setup → Scheduled jobs, enable the periodic scan if you want it, and the audit purge task to apply the retention period.
Replace the custom/datacleaner directory with the new version, then disable and re-enable the module so that new tables, hooks or scheduled tasks are registered. Settings and audit history are kept.