Prerequisites, installation in custom/, configuration, first test and update. Start on a copy of your database.
Updated 9 October 2026 · Dolibarr 18 → 24 · PHP 7.4 – 8.3 · version 1.0.0
1. Prerequisites
Dolibarr 18 to 24, PHP 7.4 to 8.3 with the dom, xmlwriter and zip extensions (the About page of the module checks them). The Accounting module if you want to read the trial balance from Dolibarr; otherwise a CSV or Excel export of the balance from your accounting software. Your tax identifier (IF) and your Simpl-IS access with a “Rédacteur” profile.
2. Install the module
Unzip the archive into custom/ (custom/liassemaroc) and activate Liasse Maroc EDI in Home → Setup → Modules/Applications (financial modules family). Give users the permissions: read, create and enter, validate and generate EDI files, configure. A “Liasse fiscale” top menu appears.
3. Configure
In the module setup, enter the tax identifier (digits only; Simpl-IS rejects the file if it does not match the filer) or fill professional id 3 on the company card. Choose the default model (normal or simplified), the default balance source, the opening-balance mode and, if needed, the journals to exclude.
4. Create a package and load the balance
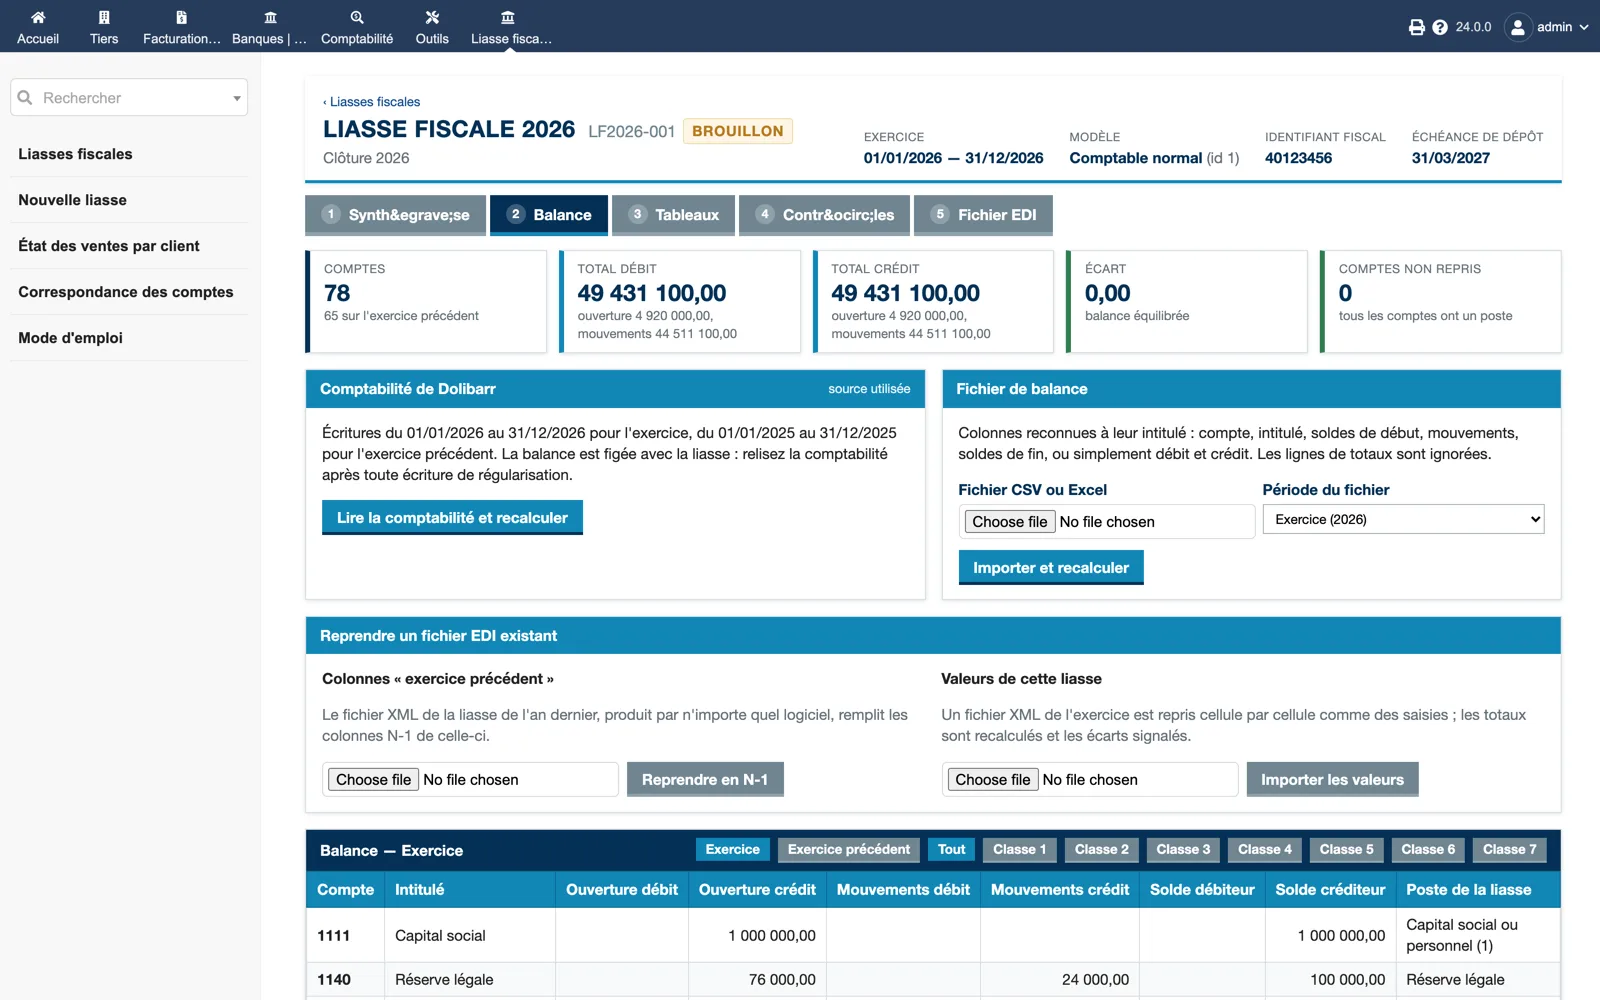
Liasse fiscale → Nouvelle liasse: year, model and label. On the Balance tab, click “Read the accounting and recompute” or import the CSV / Excel file for the year and the previous year. Check the counters: balanced balance and zero unmapped accounts. Unmapped accounts are listed by amount; map them under Correspondance des comptes and recompute.
5. Review the schedules
Open the Schedules tab and go through T01 to T26 with “Save and go to the next”. Tinted cells come from the balance; type over them when needed, the original value stays as a reminder. Fill the nominative schedules (shareholders, leases, loans…) by typing or pasting rows from a spreadsheet.
6. Run the checks and validate
The Checks tab must show zero blocking errors: balanced balance and balance sheet, cross-checks between schedules. Fix what is flagged, then “Validate the package” on the Summary tab: figures are frozen; reopen the package if an adjusting entry is needed.
7. Generate the EDI file and file it
On the EDI file tab, check “compliant with the schema”, download the ZIP and upload it on Simpl-IS in “Envoi des fichiers EDI”. Follow the processing: after “Succès” or “Traité avec avertissement”, correct and resend only the schedules concerned if needed, then validate and sign in EFI mode. Record the filing in the module and generate the PDF for the closing file.
8. Update
Replace custom/liassemaroc with the new version, then disable and re-enable the module. Each new publication of the DGI appendices (cell coding, XSD schemas) comes as a module version that replaces the embedded model definitions.