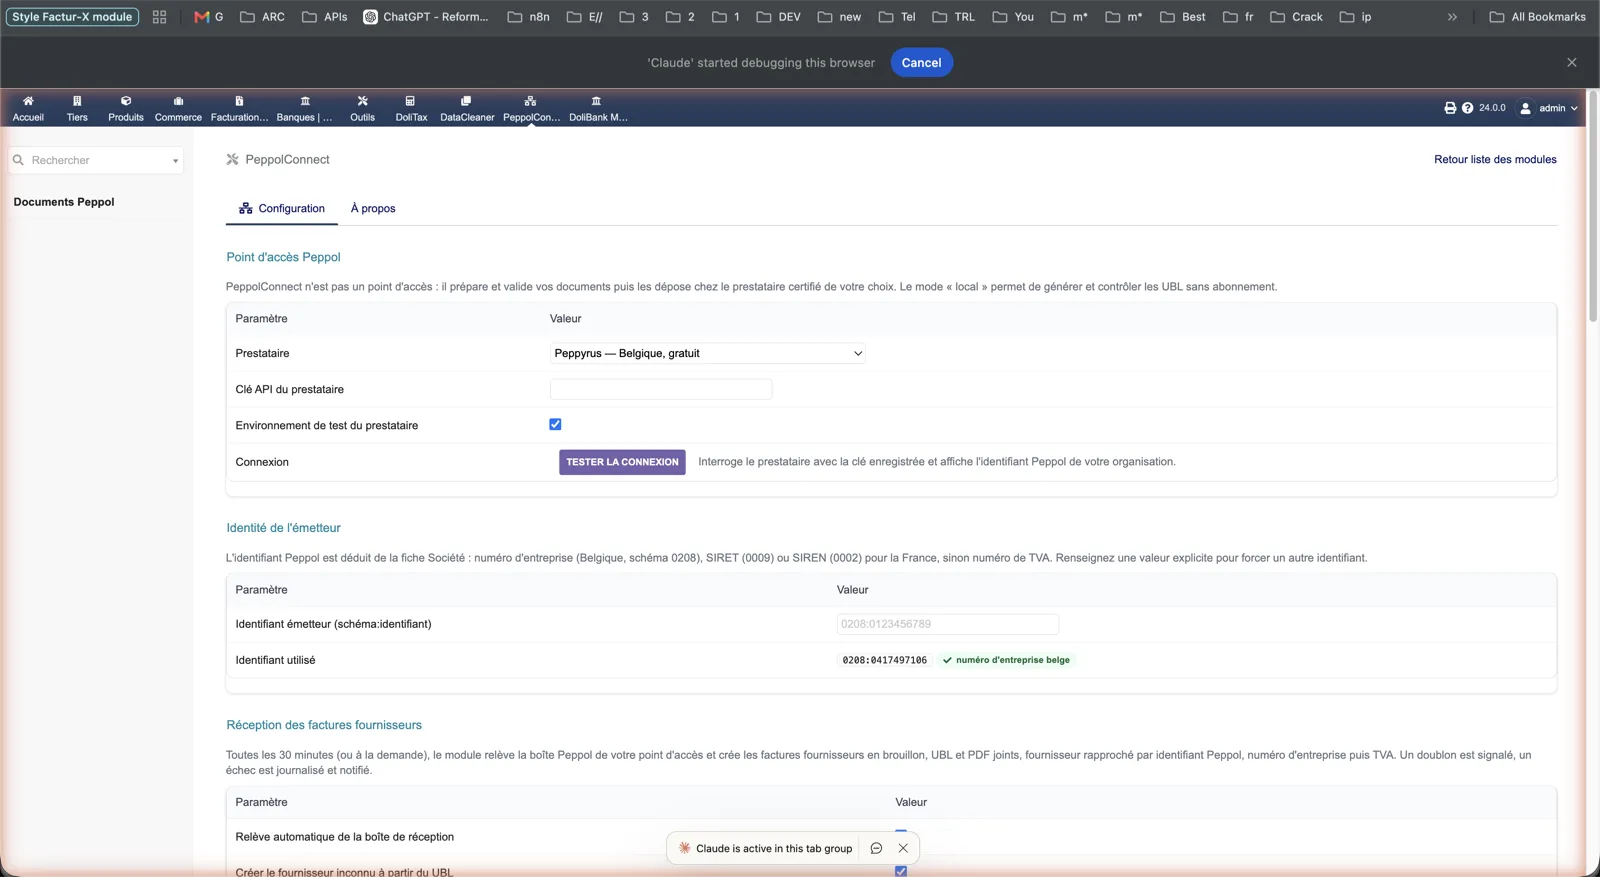
Prerequisites, installation in custom/, configuration, first test and update. Start on a copy of your database.
Updated 9 October 2026 · Dolibarr 18 → 24 · PHP 7.4 – 8.3 · version 1.1.0
1. Prerequisites
Dolibarr 18 to 24 with PHP 7.4 to 8.3 and the DOM, libxml, mbstring, cURL and OpenSSL extensions. The Invoices module active, plus the Suppliers module if you want reception. Fill in the company card: name, full address, VAT number and the enterprise number or SIRET. Open an account with Peppyrus or Scrada, or start in local mode.
2. Install the module
Unzip the Dolistore archive into the custom/ directory (custom/peppolconnect). In Home → Setup → Modules/Applications, activate PeppolConnect. Activation creates the document table, the outbox table, four permissions, the menu and three scheduled tasks. Give users the read, send, receive and admin permissions as needed.
3. Run the first connection wizard
From the module setup, open “First Peppol connection”. Step 1 checks the company card; step 2 records the provider credentials and tests the connection; step 3 picks a validated invoice, checks its UBL and asks the directory whether the recipient accepts invoices; step 4 submits it explicitly, in the test environment if the box is ticked.
4. Map VAT rates and units
In the setup, complete the VAT rate mapping so that 0 % lines carry an exemption category (K, E, AE, G, O…) and a reason, and the unit mapping to UN/CEFACT codes. The diagnostic lists both as warnings until they are filled.
5. Send a test invoice and check the status
On a validated invoice, click “Generate the Peppol UBL”, then “Submit”. The panel must show Sent, then Delivered after the “PeppolConnect: refresh statuses” task runs (every 15 minutes) or after a manual refresh. A rejected document shows the provider report in the panel.
6. Enable reception
In the Reception section, tick automatic fetching, choose whether an unknown supplier is created from the UBL and enter the notification e-mail. Activate the “PeppolConnectFetchInbox” task (every 30 minutes) or click “Fetch the inbox”. Received invoices must appear as draft supplier invoices with the UBL attached.
7. Automate and go live
Optional: enable “Automatic sending when invoices are validated” and the “PeppolConnect: send queue” task with a user allowed to send. Then untick the test environment and paste the production key. Keep the diagnostic green.
8. Update
Back up the database, the documents directory and the local encryption key. Replace custom/peppolconnect with the new version, then disable and re-enable the module so that new tables, columns and scheduled tasks are created.