Prerequisites, installation in custom/, configuration, first test and update. Start on a copy of your database.
Updated 9 October 2026 · Dolibarr 18 → 24 · PHP 7.4 – 8.3 · version 1.0.0
1. Prerequisites
Dolibarr 18 to 24, PHP 7.4 to 8.3 with the cURL and OpenSSL extensions, the Scheduled jobs and Supplier invoices modules. A Billit account: create your company on the sandbox (my.sandbox.billit.be) to try, enable the Peppol registration and, if you invoice in France, the “France” electronic invoicing integration. Copy the API key from your profile.
2. Install the module
Unzip the archive into custom/ (custom/billitconnect) and activate Billit Connect in Home → Setup → Modules/Applications. Give the “Send invoices to Billit” and “Import supplier invoices received in Billit” permissions to the users concerned.
3. Connect to Billit
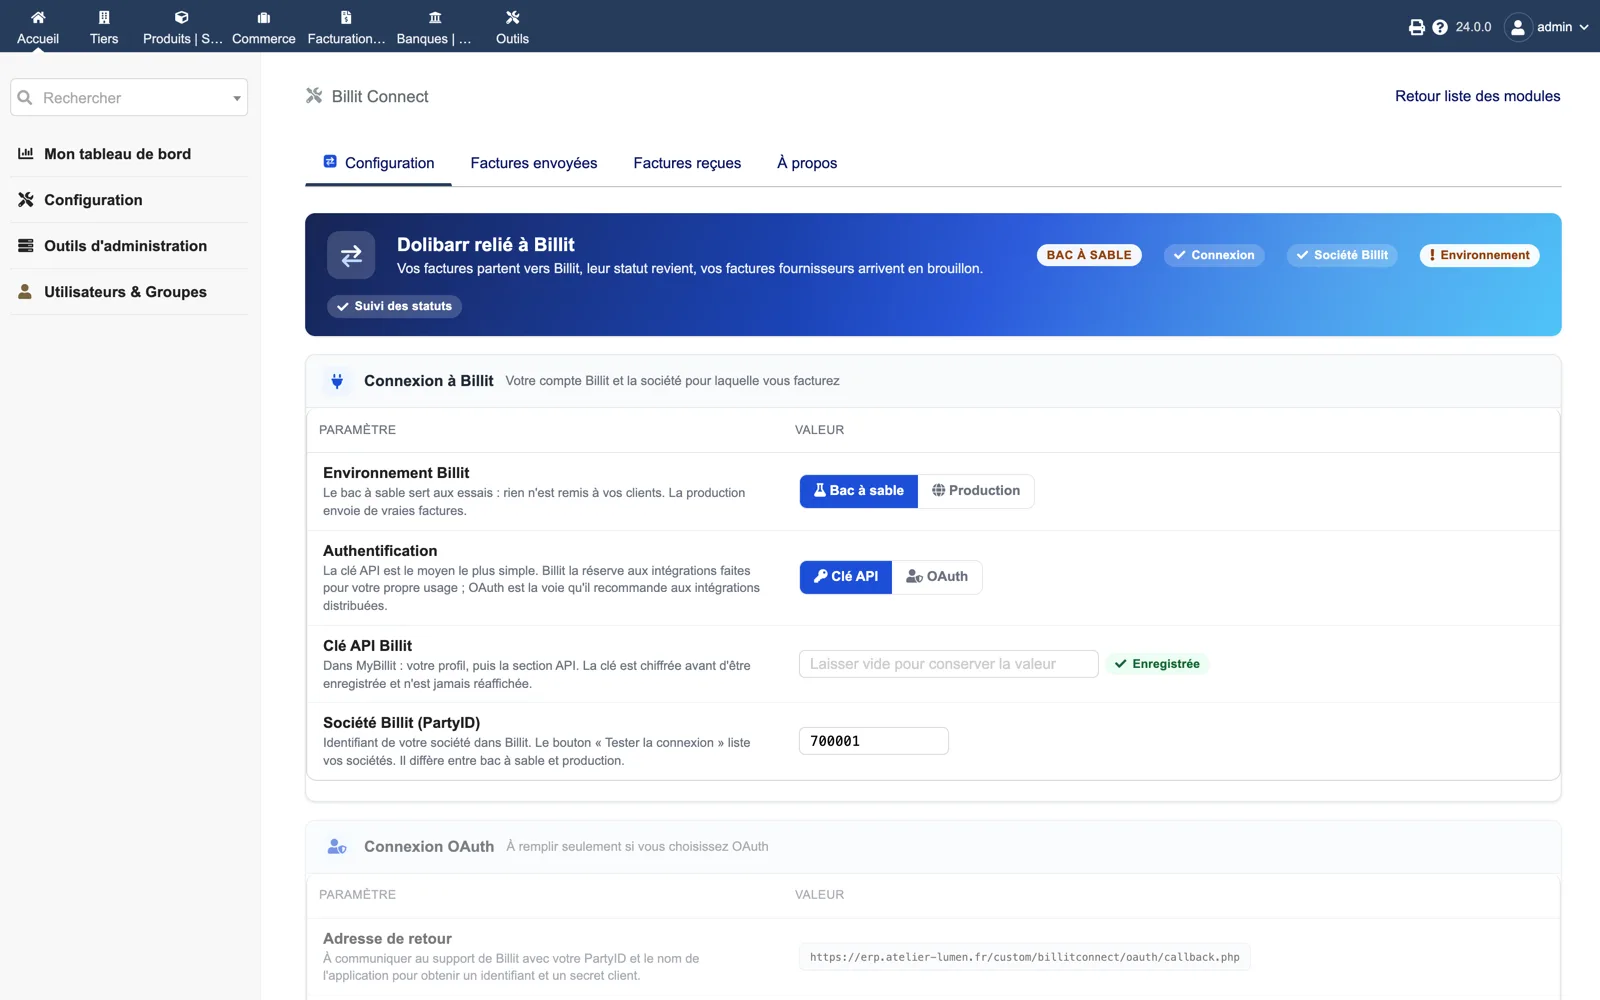
In the module setup, choose Sandbox, paste the API key and save, then click “Test connection”. The list of your Billit companies is displayed: keep the one Dolibarr invoices for (its PartyID). The key is encrypted and never shown again.
4. Send a first invoice
Open a validated invoice. The Billit panel lists the checks (identifiable customer, lines, credit note linked…). Click “Send to Billit”: the panel must show Filed, then Sent. On the sandbox, Billit publishes test recipients that simulate delivery or an administration rejection.
5. Track statuses
If your Dolibarr is reachable over HTTPS, click “Register notifications with Billit” in the setup: Billit then pushes signed events. Otherwise enable the “Billit Connect - status refresh” scheduled task (hourly). The journal under Billing → Billit must show delivered or accepted after a while.
6. Enable reception
In the Reception section, tick “Import received invoices”, choose whether an unknown supplier card is created, and whether the PDF and attachments are downloaded. Enable the “Billit Connect - import of received supplier invoices” task or click “Fetch now”. Imported invoices must appear as drafts under Supplier invoices.
7. Go to production
Switch the environment to Production and enter the production API key and PartyID, which differ from the sandbox ones. Re-register the notifications: the module tells you they must be declared again when the environment changes. Check the diagnostic in the About tab.
8. Update
Back up the database and the documents directory (it holds the local encryption key). Replace custom/billitconnect with the new version, then disable and re-enable the module.